Netbeans 9.0 obsolete
In December 2018, Apache released Netbeans 10.0, which makes version 9.0 obsolete. Please read the article about Installing Netbeans 10.0 on how to get this latest version.
Introducing Netbeans Incubator
In 2010, when Oracle acquired Sun, they also became the owner of Netbeans [1]. In Septeber 2016 however, Java creator James Gosling proposed to donate Netbeans to Apache, and they accepted! This is a great step forward, since that brings Netbeans under the standard Apache License, allowing everyone (the community) to change it, reuse it or do whatever they want with it.
Since the code has been donated by Oracle, it has to be converted to comply with Apache's Licenses. Therefore, Apache Incubator exists, and the first version 9.0 released on the 29th of July 2018 as a result.
Installing Netbeans
We're using the nightly build
To get the most out of the Netbeans project for what it currently is, we're using the Nightly build provided by Apache's Jenkins. Off course, you could also use the more stable, more Official release from Apache's Netbeans page. Currently only the nightly build has support for PHP, where the official release hasn't.
Prerequisites
First of all, ensure jdk version 9 or later has been installed (version 8 also works but disables some features). For example, when running Ubuntu 18, simply run:
apt install openjdk-11-jdk
If you're running a different flavour of Linux, you might have to use apt-cache search openjdk to find the latest supported version.
Testing
A testrun can simply be done by downloading the latest build and then running the executable:
unzip NetBeans-dev-incubator-netbeans-linux-*-on-*-release.zip
./netbeans/bin/netbeans
Installing
Permanently installing Netbeans, is nothing more than copying the files to a proper folder where the executables can exist:
sudo cp -r netbeans /usr/local/netbeans-9.0Creating a Gnome desktop entry (optional)
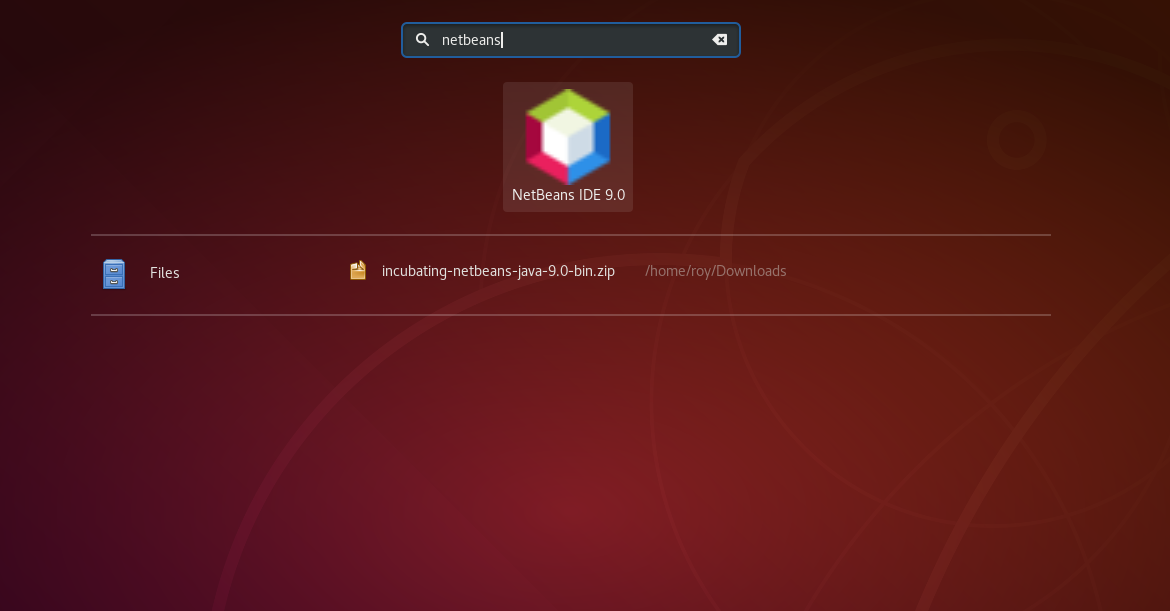
To quickly start Netbeans from Gnome's launcher and add it to Gnome's Applications menu, simply create a file /usr/share/applications/netbeans-9.0.desktop with the following contents:
[Desktop Entry]
Encoding=UTF-8
Name=NetBeans IDE 9.0
Comment=The Smarter Way to Code
Exec=/bin/sh "/usr/local/netbeans-9.0/bin/netbeans"
Icon=/usr/local/netbeans-9.0/nb/netbeans.png
Categories=Application;Development;Java;IDE
Version=1.0
Type=Application
Terminal=0
After saving this file, Netbeans 9.0 should show up under the Applications menu.
Final notes
It must be noted that Netbeans 9.0 is not quite stable, especially the nightly build we're using, even more so when you're importing the existing plugins and settings from your Netbeans 8 installation. However, keeping in mind that this is a work-in-progress piece of software, it runs very smooth and certainly faster than Netbeans 8.2.